
We are to a good start as we have deployed Esxi, AD+DNS Server, vCenter and our connection servers which means we are good to start deploying desktops to end users for which we will have to create master image, install required software's to be used by end users, harden the master image and make it ready to be used as a master image.
Below are the steps we will follow in the process of deploying Master image.
1. Choose Configuration for your master image. Below is the configuration of our master image in the Lab
- Operating System - Windows 10 Pro
- vCPU - 2
- Memory - 4GB
- HDD - 48GB(Thin Provisioned)
2. Once OS is installed, do the following as initial steps
- Install VMware tools
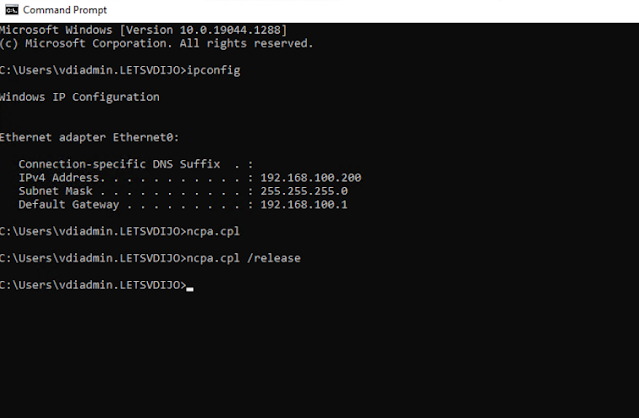
- Assign IP and make sure AD is pin-gable
- Turn off windows firewall
- Turn on remote desktop
- change the host name to desired and add the VM to domain
- Notepad++
- Google chrome
- Adobe reader
- Horizon Agent- According to the version of connection servers. Horizon agent acts as broker between connection server and desktops.
- DEM agent - for profile redirection and etc - we will discuss about this is our future blogs


Horizon Client installation Steps are below :


Select USB redirection and scanner redirection if you are installing the same in a production environment but in Lab it is not required.


DEM agent installation Steps :


Click on Customer and make sure to install DEM Flex Engine agent rather than DEM console


Now that we have all the app and required software installed , as a last step we will have to make sure IP is release from the VM as it would impact and assign the same IP while creating the desktops

Once the above steps are completed properly shutdown the VM from Console and take a snapshot with the name you would remember

Let us see the steps of creating our first pool in our next blog


0 Comments