
As we discussed in our last blog, Once we have the ESXi server ready we will have to go with vCenter installation. However it is always a recommended practice to install vCenter by creating a DNS record. Since it is Lab environment we are going to install both AD and DNS in the same server.
Let us start with the creation of VM for AD+DNS and configure the same. We will follow the below configuration to create VM in our Intel NUC ESXi
- Server Operating System - 2016
- Operating System Version - Standard with Desktop experience
- vCPU - 2vCPU
- Memory - 4GB
- HDD - 90GB (Thin Provisioned)
Below are the steps follow for creating the VM in our ESXi server, the marks in yellow represent the steps we follow one after the other


- Once you Click next VM gets created , however you will see an error if you try to power on the VM without making the next change

- To clear the above error and make the OS bootable, power off the VM, go to the settings of VM , click on VM Options-->Under boot options change from UEFI to BIOS
- Click Save and power on the VM and you should see OS installation has started


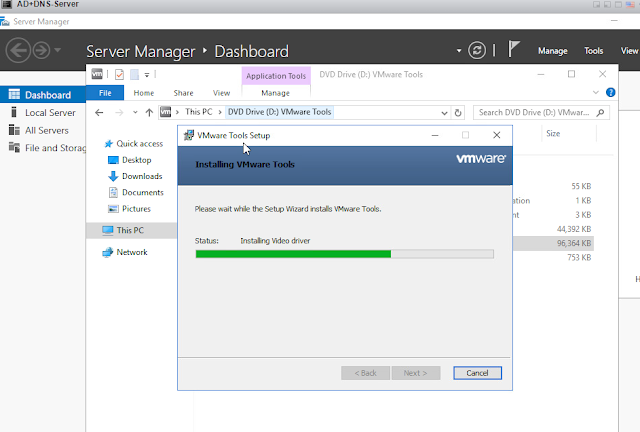
- Once the OS installation is completed, right click the VM, mount VMware tools and install the same. Reboot the VM post installation of the VMware tools if prompted


- Once the server is ready, assign IP and always follow below basics steps to make sure server is properly configured.
- Assign IP
- Turn off Windows firewall
- Change host name - restart VM is required
- Enable remote desktop
- Once above steps are done, login to the VM and from Server Manager install Active directory domain services and DNS Server role

- In the top right corner, select Promote this server to a domain controller


- To confirm that AD is installed and configured properly, you should see that you AD server is automatically joined to domain and roles showing up in administrative tools


- Now that our AD server is ready, let us install vCenter in our next blog


0 Comments